Create locative art

Create Locative art

I’ve been working with the effects caused by the landscape on GPS data to generate line drawings/maps of the terrain for a while now and am feeling the need to push at a few edges and see how else I can apply this phenomenon.

Over the last few days I’ve made the first steps towards making a system that allows the data to be compared and expressed in real time, rather than requiring me to wait until I get back to a (larger) computer to process and visualise the output.

The whole world in my hand - an eye opener to see a stripped-down GPS module and a bit of a brain-bender to try and comprehend what it's capable of doing - so easy to take it for granted when it's hidden away in a satnav or phone...

I’m now the proud owner of a GPS module and a logging shield for Arduino, both of which I’ve managed to get set up and working together to record position.

Testing: GPS module (on the windowsill) sending data by serial to the laptop

The next step is to research – and then make happen! – how to get the Arduino to read from two modules at the same time. Wish me luck.

Circuit Bending 101 at Meshed Media

On Saturday I was at Meshed Media for the second in the current batch of three circuit bending workshops I’m running.

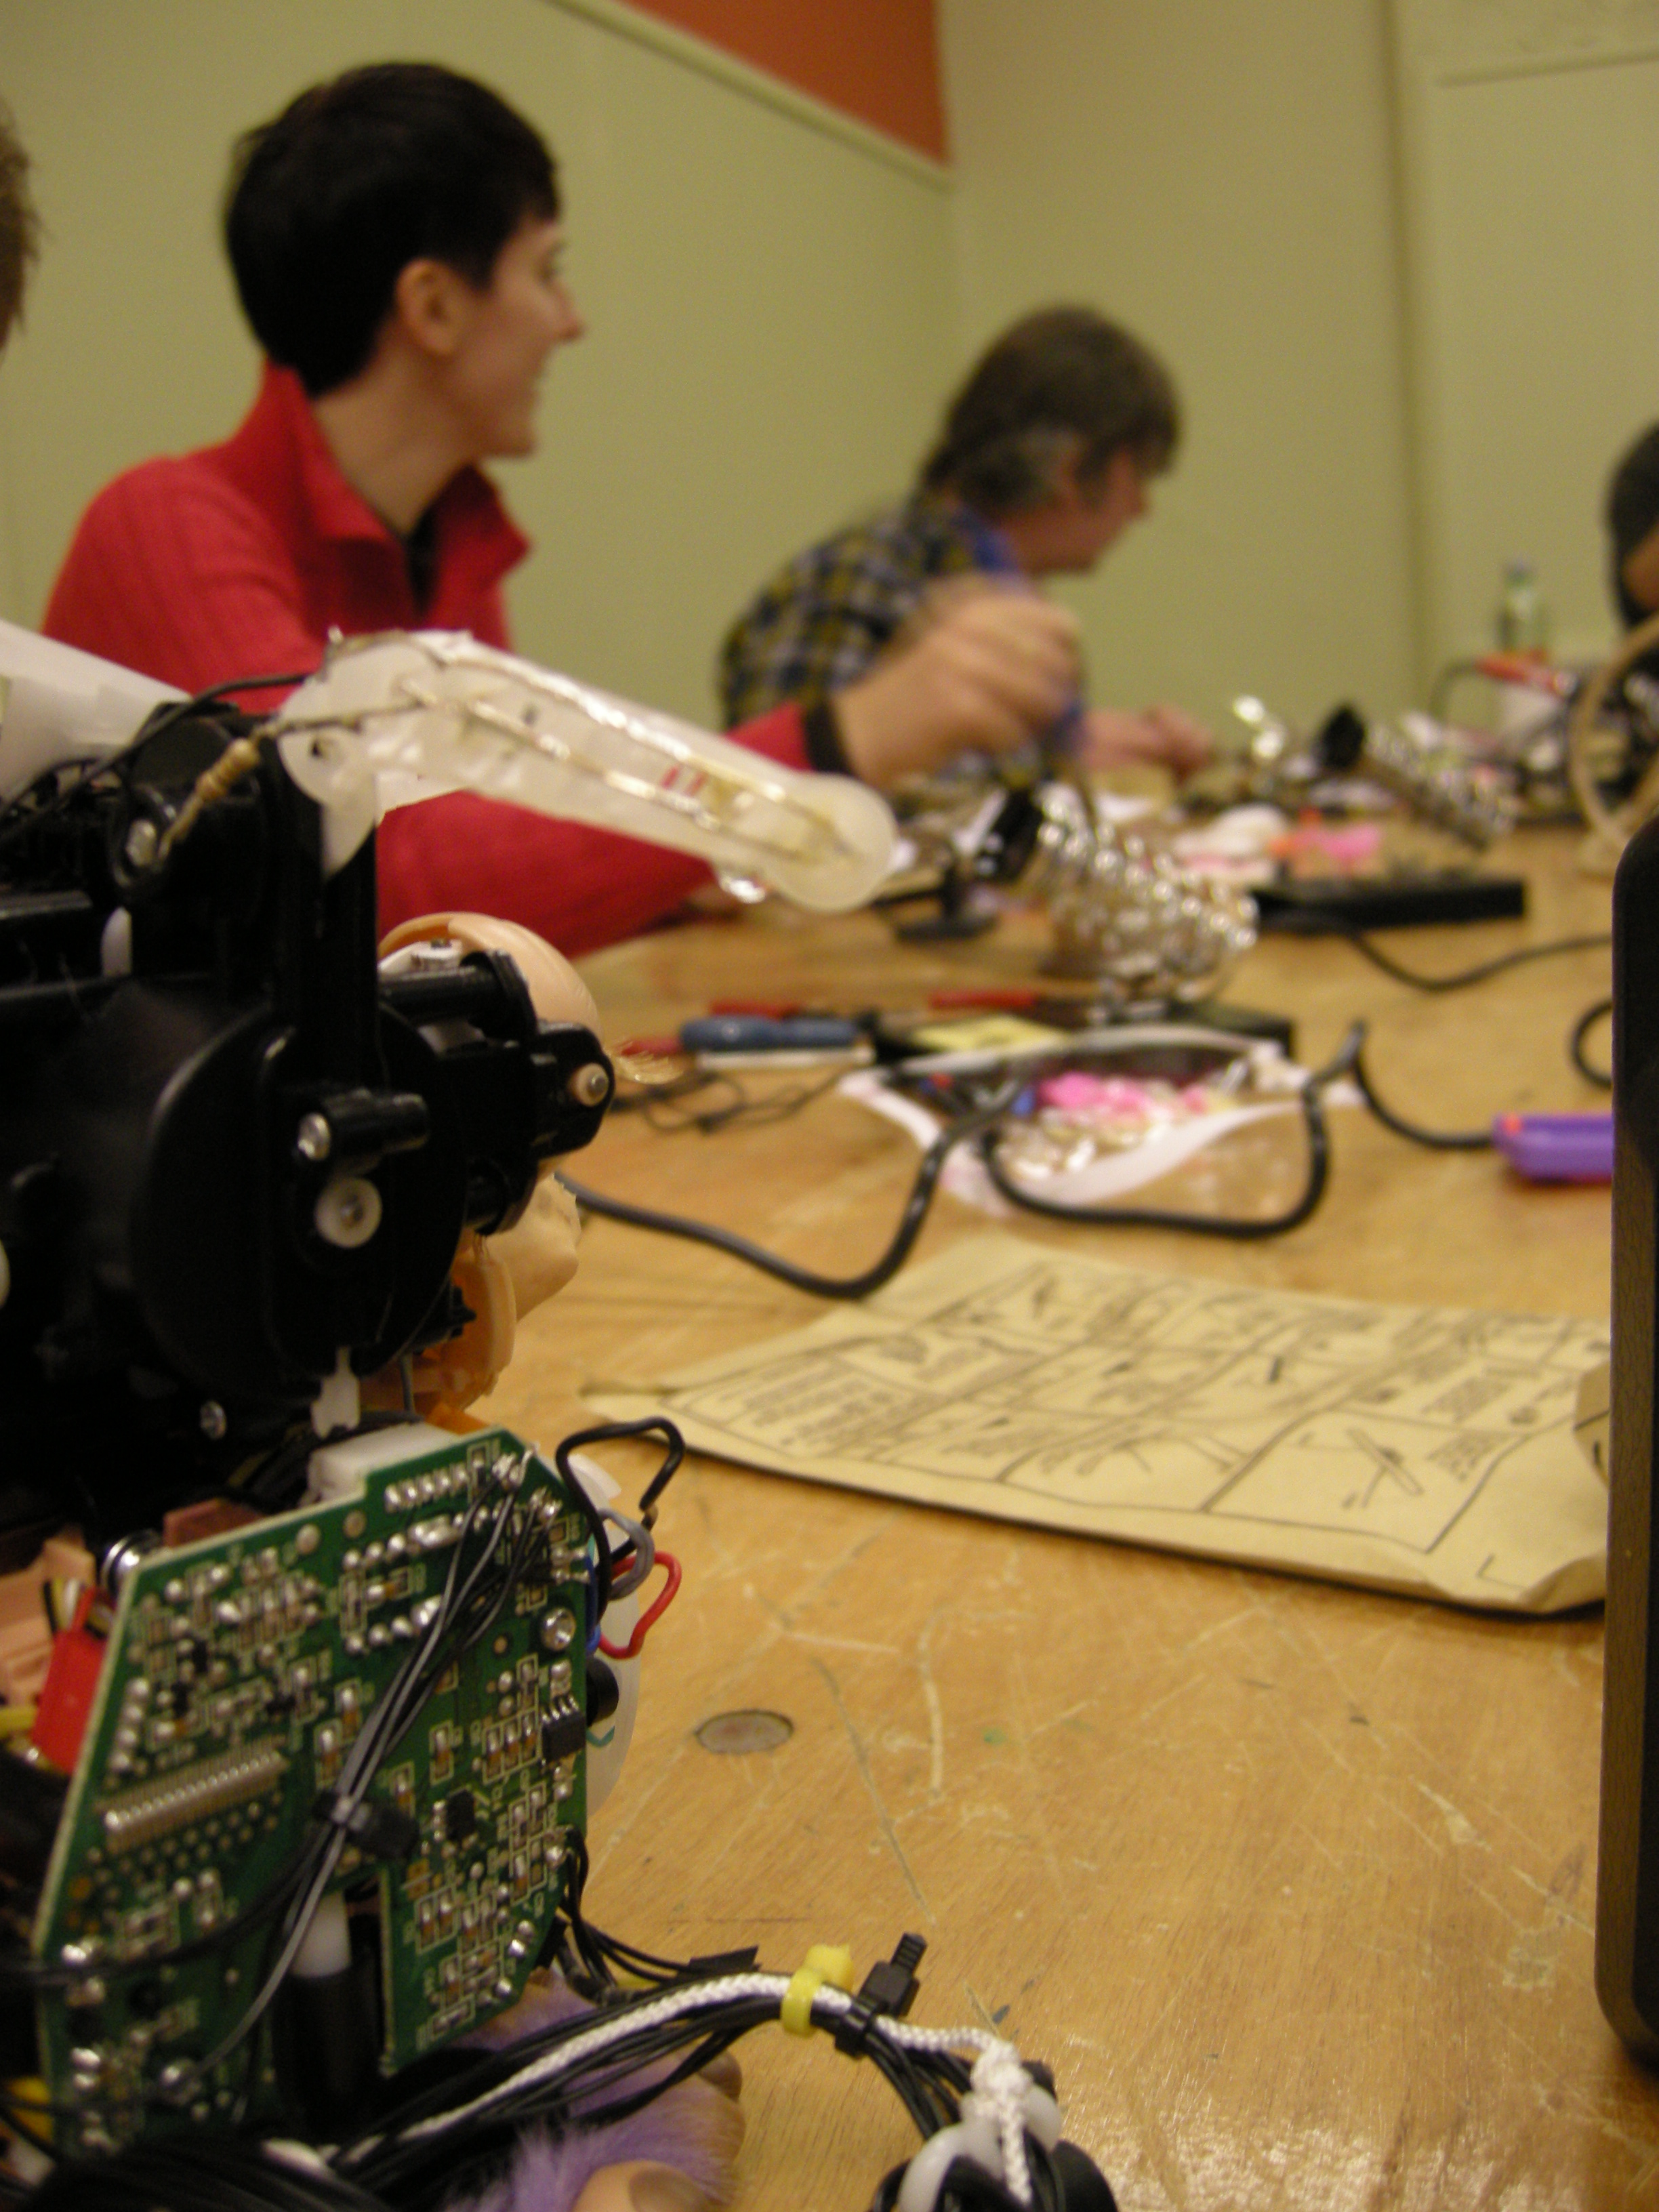
Circuit benders.

Most of the people who came along for the day had no or minimal experience with soldering, so we started off with a quick introduction to the basics before getting stuck into the circuit bending projects. By project number three it was great to see everyone happy to just get on with it, even if several hours ago they’d never soldered before!

I didn’t get much chance to take photos etc, but fortunately the workshop was mostly self-documenting with various tweets, photos and audio recordings being uploaded as we went along.

Here are some snapshots of the workshop…

Have successfully soldered two wires together. Woop! Mad skillsChrisUnitt

Happy Halloween...two pumpkins with their toyz - Mr_Spoon

Very proud of my Spooky Bending. MWAH-HA-HA-HA!!!
joannageary

Listen!

…and here are a few videos I managed to take… (you can see all my photos and videos from the workshop on Flickr)

As usual, a big thanks to everyone who came and again to Chris for hosting.

Circuit Bending 101 with Nottinghack

Many thanks to those who came along to the first of my Circuit Bending 101 workshops, and extra thanks to Nottinghack‘s Dom for hosting us.

Circuit Bending 101 hosted by Nottinghack

Circuit Bending 101 hosted by Nottinghack

After a quick soldering re-cap (selections from my ‘Soldering for 8-year-olds’ bit at Theremin Day) we started on the first project – making a music player controlled with light.

Here’s a recording of everyone trying out the toy as it was intended to sound:

Listen!

…and here’s the new, improved version an hour or so later:

Listen!

light and sound! from nikkipugh on Vimeo.

Several hours later we had eaten all the snacks, had a good laugh, discussed the difficulties of bomb-making [Theatrical-Fake-Bomb-Units, that is), worked our way through all three projects and arrived at this aural treat expertly performed by The Nottingham Hackspace Unharmonic Orchestra. A thing of beauty!

Listen!

Marvellous!

Next up is more of the same in Birmingham on the 27th of November, this time hosted by Chris Unitt at Meshed Media. Although it’s still a good few weeks away, places are already nearly all gone (only three left as I write this!). Head on over to the booking page to buy your ticket so you can join in the fun!

Not sure what was happening at the other end of the room, but it seemed to have everyone's attention...

Not sure what was happening at the other end of the room, but it seemed to have everyone's attention...

A room full of bent circuits

All I can do is show people how to wire them up - I can't control what happens after that...

All I can do is show people how to wire them up - I can't control what happens after that...

For several days now I’ve been saying what I’m really looking forward to with the Circuit Bending 101 workshops I’m running is the bit at the end where everyone will have a selection of tinkered-with electronic toys and the noise starts to issue forth.

For Saturday’s workshop in Nottingham there will be up to 12 participants. That’s up to 36 bleepy things! Hurrah!

Just as an experiment I thought I’d try and simulate what that might possibly sound like and recorded twelve individual segments of audio of about a minute in length.

I promise I was fully intending to try and combine these together in a vaguely musical manner, however when I imported all the audio and pressed play just to hear what I was starting with, I decided to leave things how they were.

I’ll leave you to speculate as to why…

Listen!

So, there’s the challenge, can we make that sound any better when we have everyone jamming together after the workshop, or is that already perfection?!

Circuit bending basics: workshops in need of a home

Following on from The British Science Festival, I’ve been invited to give a circuit-bending workshop up at the Nottinghack hackspace. (Probably in November – stay tuned for further details…)

The workshop will be a day-long session covering loads of the circuit-bending basics.

The three projects well work on.

The three projects we'll work on. Colours may vary. ...as will sounds!

Over three projects we will:

  • Use potentiometers and light dependent resistors to change speed and pitch
  • Add in blinky lights
  • Use short circuits to distort sounds
  • Add body contacts to distort sounds
  • Loop sounds
  • Add audio output sockets so you can make those distorted bleepy noises LOUDER

Here’s a quick video showing what you’ll make:

Circuit bending basics: workshops in need of a home from nikkipugh on Vimeo.

I’ve been really lucky in finding 3 toys that play nice and will allow me to cover all those techniques in some relatively simple builds, so I’ve stocked up and bought enough toys to run 3 workshops.

The workshops are intended for about ten people at a time and will last several hours, so are best suited to a Saturday or Sunday.

Nottinghack have bagsied the first workshop, who wants one of the others at their place? Contact me.

update: One workshop remaining – the other has gone to a secret location somewhere in Birmingham!

update: All gone – the third will be in Liverpool for How? Why? DIY!

Sonar goggle detector

Since some friends went on a bat and moth walk (and I’d idly Googled bat detector kits) I’ve been curious about building my own bat detector.

A few things came together and we ended having a lot of fizzPOP conversation about bat detectors. Then I started work on a school project for which an ultrasound detector would be rather nice.

It was kind of inevitable that I’d make one then!

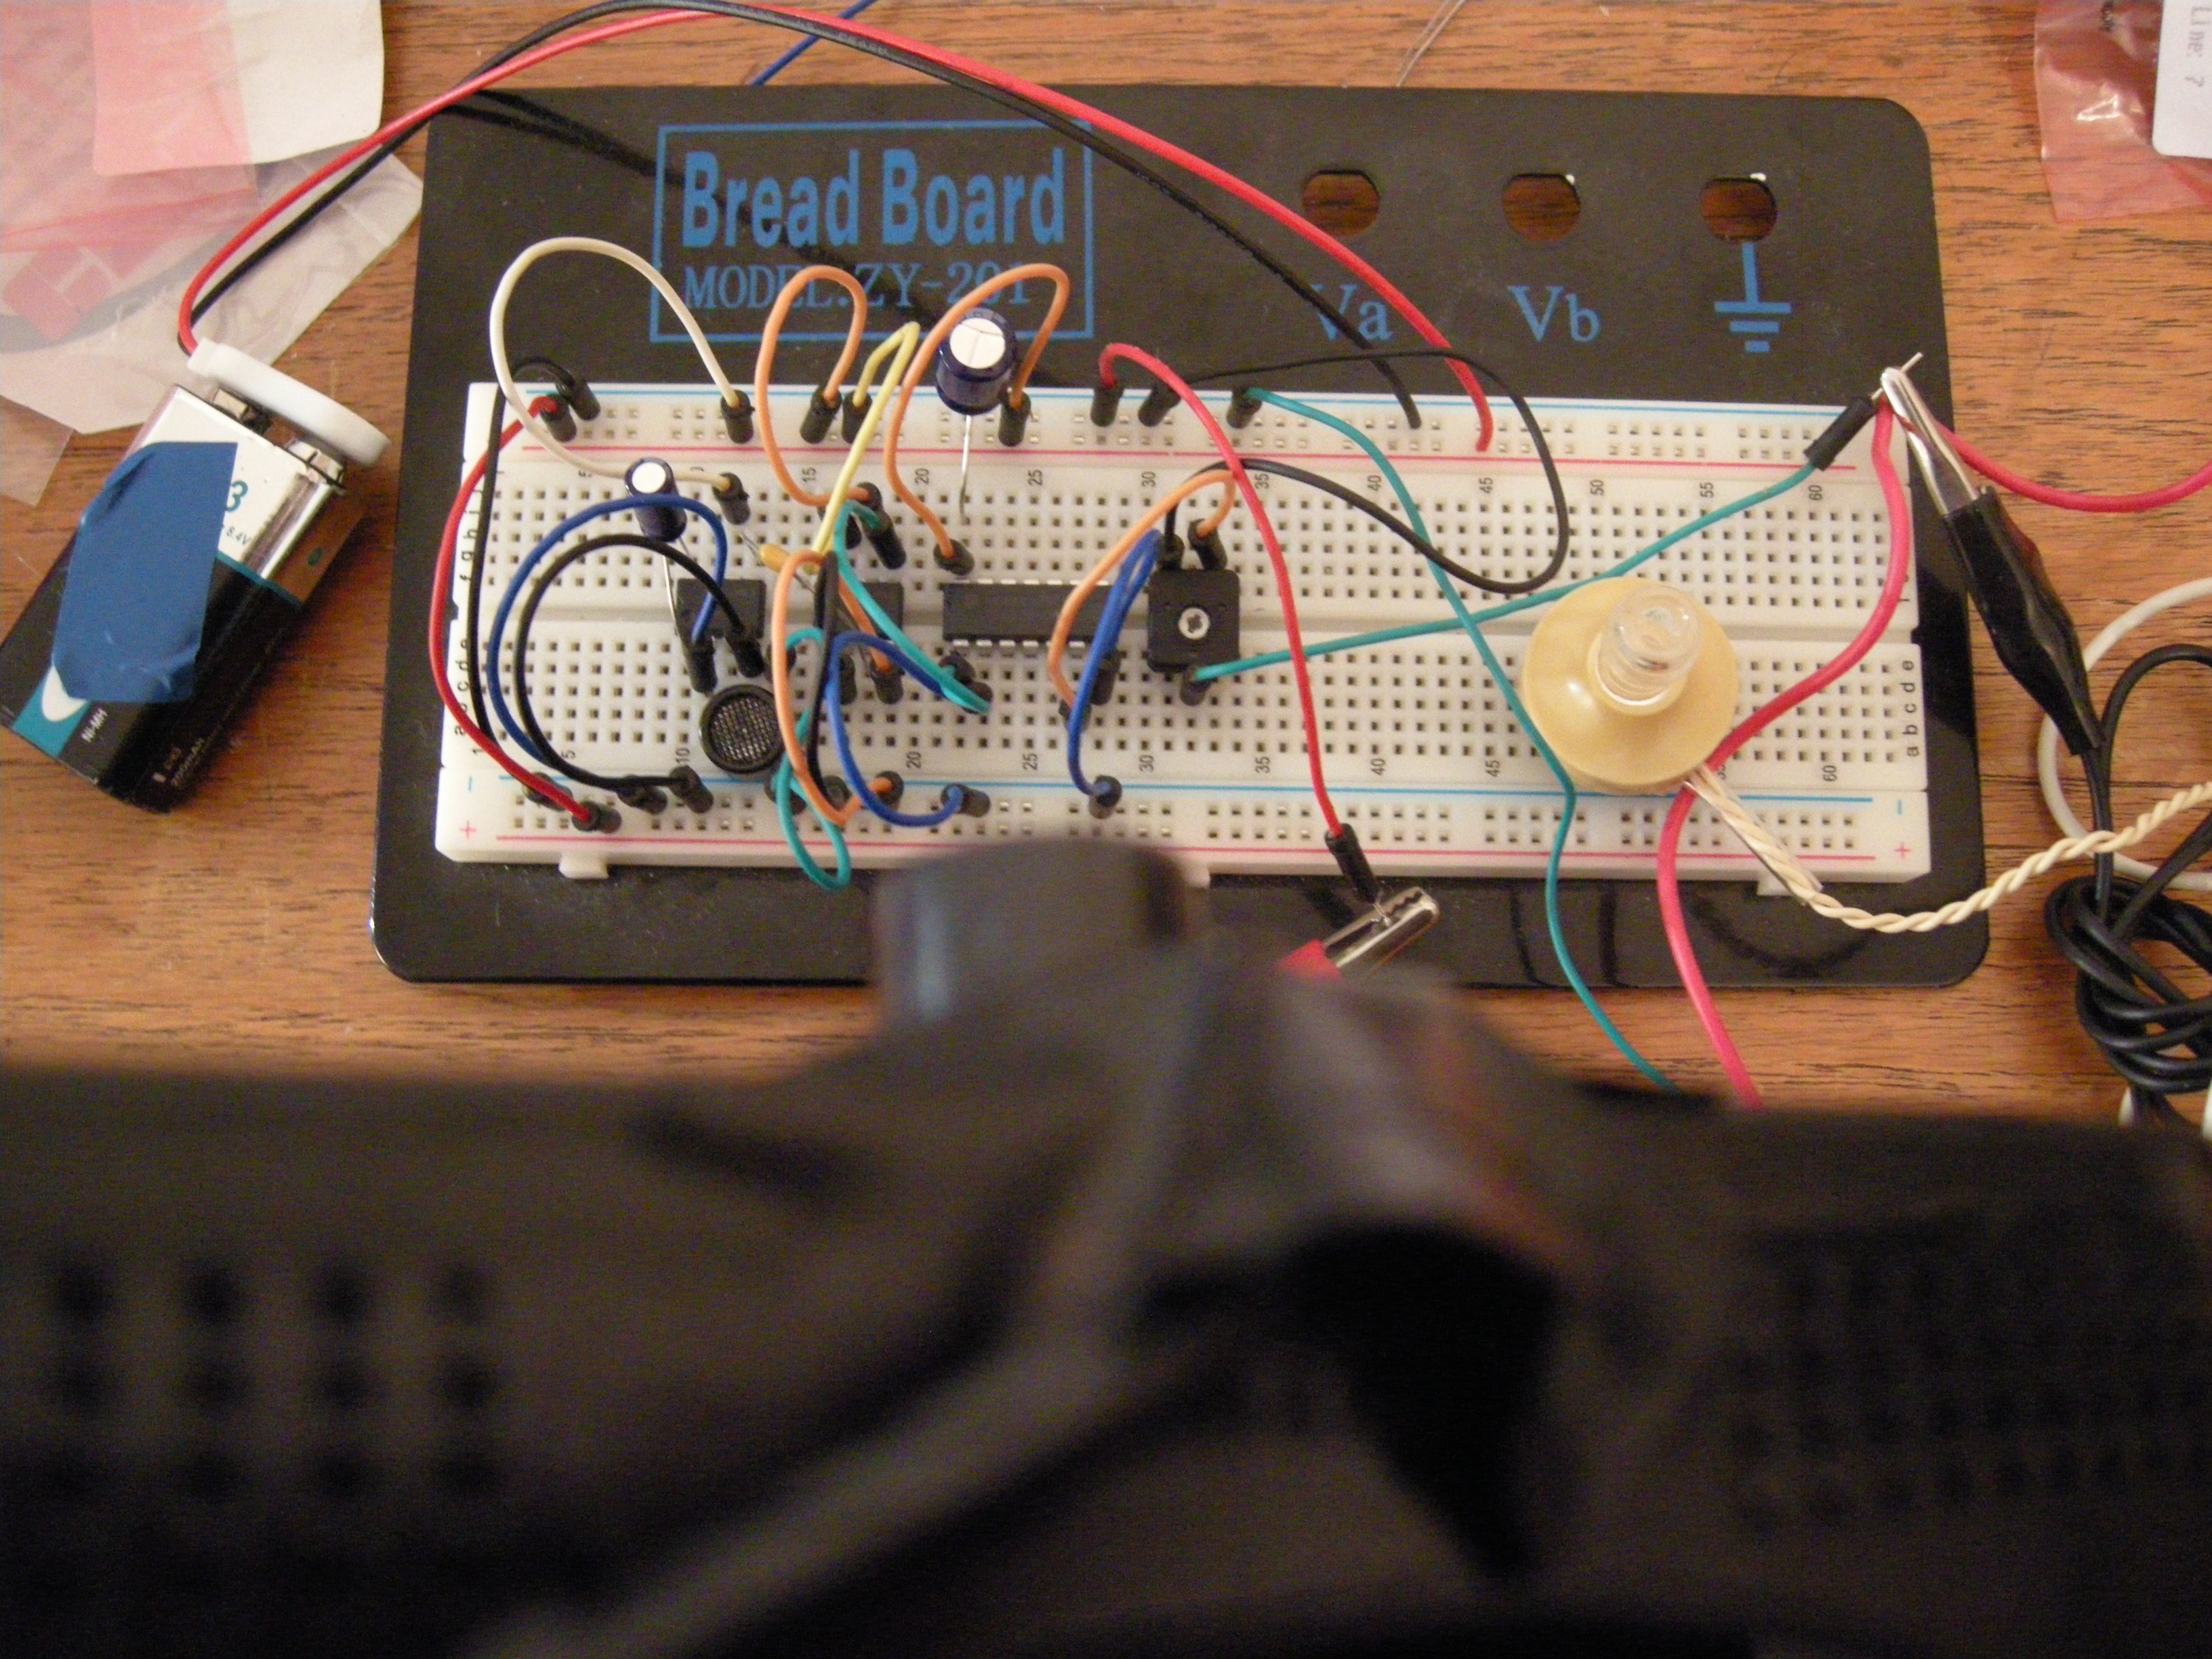
Working from Tony Messina’s Simple Bat Detector project, I gathered together the basic components and tonight managed to get a breadboarded prototype working.

It occurred to me that building something that reacts to ultrasound may not be the easiest of circuits to test… Fortunately, I had some sonar goggles to hand and the detector reacts to them!

Breadboarded circuit with sonar goggles looming overhead

Breadboarded circuit with sonar goggles looming overhead

sonar goggle detector from nikkipugh on Vimeo.

Mr Mabbett also suggested placing the detector near a TV set (which I don’t have) or some jangling keys (which I do!) to test it. There are some good clicks coming from the keys test too, so next step is to get the circuit soldered up onto stripboard and into an enclosure of some sort.

As well as the schools stuff – where we would be using the detector to reveal sounds beyond our hearing – I’m interested in running workshops for people to build their own detectors. I also have some crazy game ideas…

Map for something you cannot see

I’ll be using The Anticipator on Monday to try and locate the source of a mysterious noise, so over the last few days I’ve been dusting off the cardboard hardware and the (now defunct) mscape software.

The Anticipator: now with power indicator, LED bezels and several layers of what I hope will be waterproof spray...

The Anticipator: now with power indicator, LED bezels and several layers of what I hope will be waterproof spray...

I’ve tarted up The Anticipator a bit to hopefully improve its usability – bezels for the main series of LEDs and also a power indicator. We’ll be using it no matter the weather, so I’ve also given it a few coats of waterproofing. (Not that I’m feeling pessimistic at all, but I’ve also given myself a new waterproof coat too!)

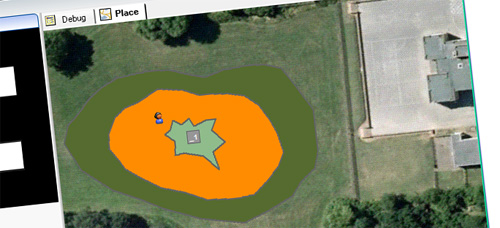
I’ve put together a first draft of the GPS zones I’ll be using over the school field to represent the presence of our mysterious noise-making object and tomorrow I’ll be in Leicester giving it a test run.

School field with GPS zones overlaid

School field with GPS zones overlaid

Oh, and we’ll also be testing the field with a metal detector, just to make sure we don’t get any derailing surprises on Wednesday next week when we do it with 50 kids watching!

EMF detector

Again for the school-project-that-I-cannot-mention-explicitly-by-name-because-of-Google.

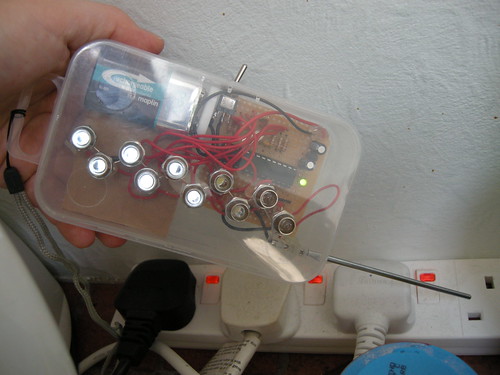
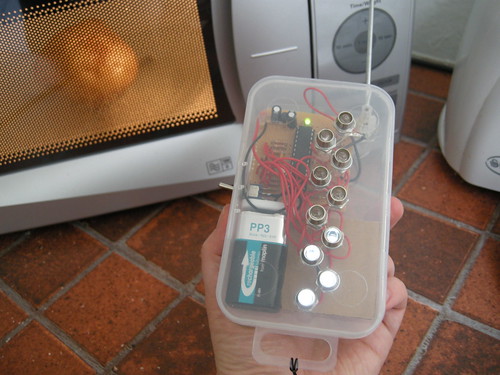
As an extra tool for us to use in our investigation into the unseen, I constructed an Arduino-based electromotive force (emf) detector. I’ve made breadboard versions of this before, but now it was time to build something a little more permanent.

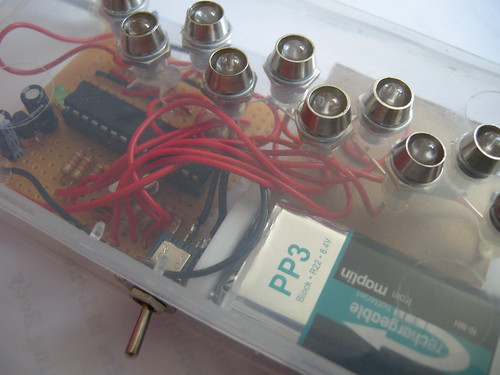
barebones Arduino, 10 LEDs and a plastic case from a pound shop screw set

barebones Arduino, 10 LEDs and a plastic case from a pound shop screw set

The LEDs light up in proportion to the strength of electromagnetic field detected. Since electrical currents are intrinsically linked with magnetic fields (can’t quite remember my A-level Physics) placing the antenna near to power sockets and electrical items light up some of the LEDs.

4-way gang lights em up

4-way gang lights 'em up

bing

bing

The microwave seems reassuringly well shielded:

But my clock radio and bedside lamp are a tad alarming!

It’s very interesting hunting around the room for different effects. Orientation of the antenna changes the number of lit LEDs, as does switching things on and off. I’m curious to see how the detector responds to big classroom equipment such as smartboards and projectors, but of course the main point is observing how the children respond to being able to visualise things they wouldn’t otherwise be aware of.

Noise for something you cannot see

Earlier this week I had a planning meeting with the Y3 and Y4 teacher of a school I’m working at. The theme of the project will be based around the idea of investigating the things we can’t see.

The doings will kick off with me coming to the school asking for help in locating the source of a strange sound. I’m not much of a sound engineer, but when my tummy started gurgling enthusiastically after a breakfast of cold pizza this morning I grabbed my binaural mics, a digital voice recorder and the opportunity to see what would happen if I manipulated the sound a bit.

Here’s a gurgle amplified, noise removal-ed, slowed down, lowered in pitch and then overlaid with slightly off-set versions of itself.

Listen!

Note to self: must make more notes to self so I can reproduce the sequence of applied effects.

DIY Arduino

Over at fizzPOP we’re exploring group dynamics and how to strengthen our community at the same time as running compelling events and extending our skills.

We’ve been doing free-style hack sessions for over a year now and we’ve also run a fair number of workshops and events (Such as Howduino and Theremin Day) on specific areas. We’ve been paying attention and, whereas the atmosphere at the events we run is absolutely fantastic, it’s not sustainable for us to run things at this level on more than an occasional basis. We can however incorporate elements of the big events into the little things we do every fortnight.

Right back in the beginning we pondered on the importance of shared goals and working as a group. We’ve recently returned to this with themed sessions – Hack a Toy and Processing Anonymous being two examples.

Starting on Wednesday the 18th of August we’ll be experimenting with themed hacksessions on a more formalised basis. You’re still welcome to come along and work on individual projects if you like, but the steering group and other members of fizzPOP will be taking it in turns to initiate and coordinate clusters of activities around particular themes. It’s really interesting watching theses themes get negotiated online as people discuss what skills they can share and also what skills they would like to acquire.

This Wednesday the theme will be DIY Arduino – home-made versions of the Arduino board that are more minimal, less expensive, or simply do a specific job – and it is I who has been herding the cats. There are a range of different interests and skill levels at fizzPOP (all are welcome!) but several common focal points seem to have emerged in the online discussion:

  • building a barebones arduino board, either on stripboard or breadboard
  • burning the bootloader using ArduinoISP and building daughterboards to make this easier
  • designing and building low power variants
  • and using the barebones board as a case study for learning about PCB design

Since there’s a bunch of us interested in building our own modules, I’ve been able to buy a load of components in for a lower price than compared to smaller quantities. I’ll be selling components for a bare bones Arduino (NB, it really is just the basics!) for £4.50.

This kit of components (plus battery connector) will be available for £4.50

This kit of components (plus battery connector) will be available for £4.50

This is significantly cheaper than the £25 or so you’ll pay for the full-blown board and, as an artist, it’s what makes multiples and building things like the sonar goggles possible in my work.

So, if you’ve dabbled with Arduino before and are looking to take things to the next level, or perhaps you’ve not yet dipped a toe in because you’ve found the cost prohibitively expensive, than this is the session for you. It won’t be a formal, led workshop, but there will be a room full of people applying their brains to related challenges and with assorted relevant kit etc. Think of it as being in a room with 20 mentors.

There is more information on the fizzPOP website:
http://www.fizzpop.org.uk/hacksessions/themed-hacksessions-and-diy-arduino/
http://www.fizzpop.org.uk/hacksessions/hack-session-wednesday-18th-august/
and a sign-up page on the wiki:
http://wiki.fizzpop.org.uk/18-08-10_Hack_Session


Copyright and permissions:

General blog contents released under a Creative Commons by-nc-sa license. Artworks and other projects copyright Nicola Pugh 2003-2026, all rights reserved.
If in doubt, ask.
The theme used on this WordPress-powered site started off life as Modern Clix, by Rodrigo Galindez.

RSS Feed.