Last night at our fizzPOP hack session we celebrated the group’s first birthday.
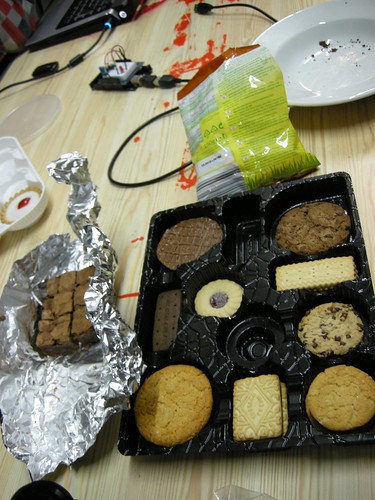
Chocolate brownies, jammie dodgers, humidity sensor LED candle.
fizzPOP (so named as a reference to the Lunar Society) came into being just as I returned form a residency at the Banff New Media Institute and was pondering how on earth I was going to develop my skills and practice in a city with an apparent lack of peer group.
I’ve been heavily involved in the organisation of the hackspace (working with Antonio Roberts and others) since the early days and seen it grow from laptop-orientated meetings in pubs through to regular practical sessions held at The Edge. I’m happy to be able to report that I’ve learned loads and am constantly meeting new people who provide skills and ideas that feed into my work (and play!).
There are big plans for our second year – look out for more in the way of events and workshops, as well as continuing to develop the hacksessions that form the core of what fizzPOP is about.
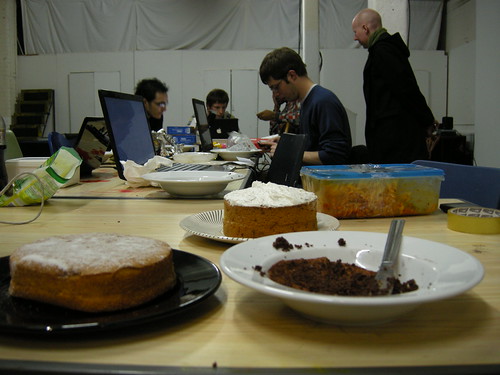
Cake.
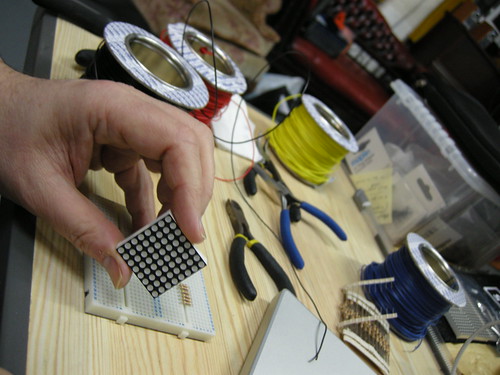
LED matrix: GB contemplates colour mixing, simple graphics and very small numbers.
I was shocked when this lady ran into the room & said COME INTO THE HALL NOW- THIS IS TOP SECRET. We suddenly found out that our teachers were all agents named Agent squirrel, Agent pants, Agent ants & Agent elliephants. I enjoyed learning this misson it was interesting to see all our teachers undercover. I learnt how to break codes in the afternoon & we got two clues that tell us what is the answer to this mission & it carries on going and going until we find the last clue. I am excited but i am little bit nervous because we only have 3 days.
Agent CB
In the morning when Miss Yates had just taken the register agent N came in and she said EMERGENCY!!! COME TO THE HALL QUICK I was really excited but when we were walking in the corridors we had to make sure that we were undercover so we had to act normal and when we had got to the hall agent N told us that we were on a mission to find some clues to solve the mission.Then we had to go back to are classrooms and we had to solve some clues and we got some clues just in the time of 15 minutes and the first clue was , near a mans whos’s insides you could clearly see and we had to find a map and each class had part of the map and if we put it together it would make the whole map. Today I have learned that if we all work together as a team the mission would be done quicker because we only have 2 days left.
Agent AW
I have realy enjoyed day 1 of (Sssshhhhhh) code breaking I can not I repeat (can not) wait until tomorrow.
And I cant wait to see the map again because it realy I repeat (realy) looks like fun also I thought what we might have to do with the map cause it looks allot like a treasure map.So we might have to find another clue or something.
cant wait for tomorrow
see you, yours greatfully
L (byeeeeeeeeeeeeeeeeeeeeeeeeeeeeeeeeee)
Agent LJ
(All these examples were added to a forum on the school’s Virtual Learning Environment after school had finished.)
As a follow-on from the box with a secret knock in it, I’m preparing a 3-day immersive experience to develop active learning amongst 3 classes of 9/10 year-olds (Y5). This project is attached to the curriculum area of mathematics, but aims to address fundamental questions about attitudes to learning in general.
Constructing a map of the school grounds.
The plan is to solve a series of puzzles to incrementally build up a massive dot-to-dot overlaid on the school grounds, so I’ve just spent a couple of hours working from satellite imagery to construct an outline map over which we can place…
I got the news through a while ago, but had to double-check that they were ok with my instructions for display…
My Uncertain Eastside drawing generated from 6 circuits of the Eastside Regeneration Zone in Birmingham has been selected for exhibition at Birmingham Museum and Art Gallery‘s Gas Hall as part of their biennial collaboration between with Wolverhampton Art Gallery to celebrate the work of artists in the region.
My letter tells me there were over 1200 entries to the Open, from which 146 were selected for the exhibition …so that’s something nice I can tell my Mum!
West Midlands Open, 2010
Expect more details closer to the exhibition’s opening in March…
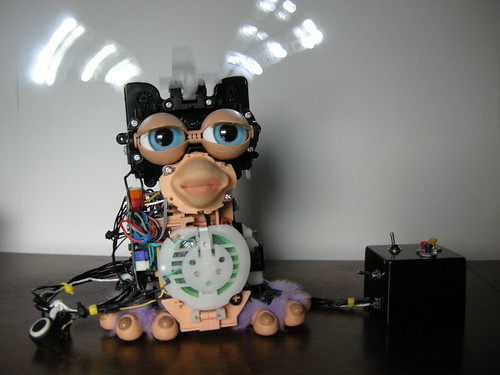
Since I started this circuit-bent Furby project, people have been nudging me to do some sort of a performance with it.
I struggle with this idea, I think for two main reasons.
The first is that I’ve never been to a performance that even remotely indicates to me what a circuit-bent Furby gig might be like. What might a circuit-bent Furby gig be like?
The second is that, as Danny started to get close to with his questioning of how I relate to the Furby as I’m messing with its circuits, the interesting thing about this kind of object for me is how people interact with it.
'Furby & Thingamagoop' by Katchooo on Flickr
Fiona asked me to bring the Furby along to her recent birthday party. Brilliant! A chance to see how other people play with it!
It was great to just sit back and watch as different people responded to the thing in different ways. Also good was how people responded when the Furby failed to respond …and the different ways in which frustration, anger and dominance were expressed! This is the stage where I start to find out what it is that I have made. Up until then, it’s just been a learning project as I try and improve my electronics skills. It starts to come alive only once I put it into the hands of other people.
So, the idea of a performance and therefore of an audience is quite an alien one for me. I’m more interested in participants; in audiences of one.
I’m unlikely to part with this one (still needs a name, by the way), but I’d like to know if people would be interested in commissioning their very own circuit-bent Furby?
well-funky furby
It looks like Funky Furbies (like the one above, video here) are going on ebay for about £20, so let’s say that after they’ve been circuit-bent and had extra components put in etc etc you’re looking of a starting price of around £50.
It might be possible to get a smaller one, like the above, on ebay for less, maybe even £5, but that depends on how the auctions play out…
Anyway, if you’re interested in commissioning your own unique little ear-wiggling bleepy thing please contact me and we can arrange a design brief and a budget to work to.
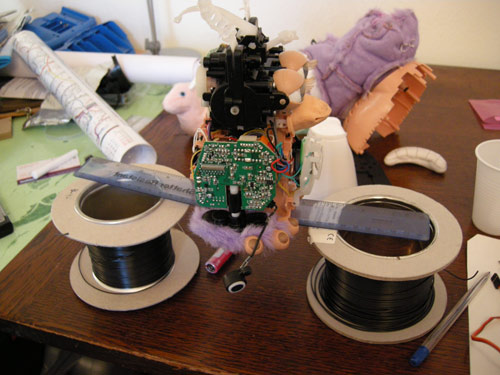
Working directly on the circuitboards to find glitches was very difficult, especially since most actions involve, well, action and the Furby kept moving around.
Not a particularly effective solution...
Removing the feet again allows the Furby to stand fairly steadily on the base of the battery compartment without the leg cams reaching the surface it’s on to make the body move. However, this also means you have to down tools and pick the Furby up each time you need to turn him onandoffagain. With all the exposed mechanics and electronics, finding a safe place to pick him up by is a challenge in itself.
On-off switch
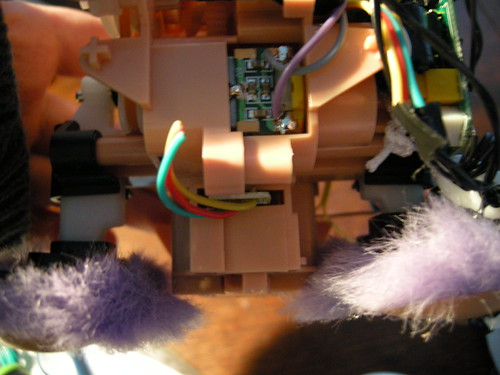
The on-off switch doesn’t appear to be directly connected to the battery compartment as in simpler electronic toys I’ve worked with, instead 3 wires come out from the back of the switch and join onto the circuitboard.
snipped wires from on-off switch
I just snipped the yellow, red and green wires about an inch away from the switch (enough to leave me room to solder back onto the wires going into the switch, if needed) and then extended the wires connected to the circuitboard and soldered a SPDT toggle switch onto the other ends.
Extensions to the on-off switch wires
Tickle me
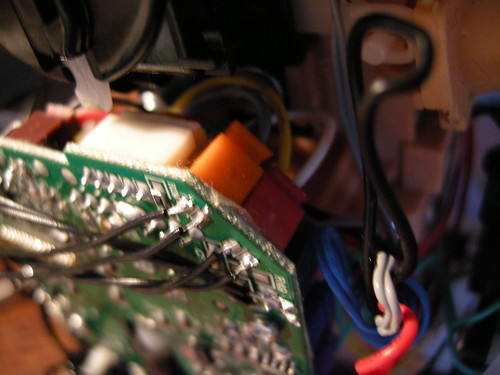
I also wanted to add remote switches to the belly, mouth and back of the Furby. All these plug into the circuitboard and, thanks to the coloured wires, are reasonably easy to identify.
These are actually connections for LEDs (see later) but the principle is the same for the switches
It’s also pretty straightforward to solder a couple of extra wires onto the leads of the plugs where they come out onto the front of the circuitboard. I’m just using some momentary push-to-make switches to trigger the Furby. It’s nice to have a few actions that are not in response to voice commands.
Audio jack, glitch switch and push buttons for belly and back
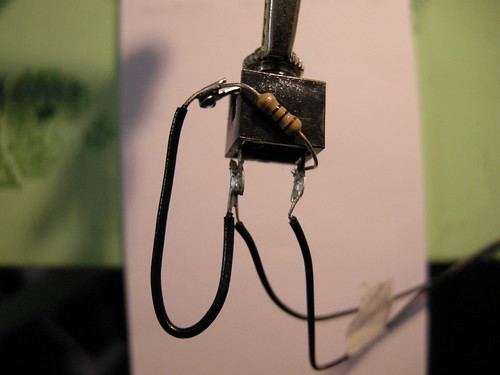
I also tried to use a push-to-make switch to control the sound glitch, but found I was killing a lot of switches in the process. At first I thought I was over-heating them at the soldering stage and messing up some of the internal contacts, but I eventually noticed (with the help of my multimeter) that it was after a few pushes that the switch stopped working. I thought that the current might be too high for the switches and so added in a 10ohm resistor, but was still getting sketchy results.
Increasing the resistance had the effect of speeding up the sound (not particularly desirable) so rather than increase the resistance I eventually abandoned the push-to-make switches in favour of a chunkier toggle switch (also with 10 ohm resistor).
At one stage I tried a large latching push-to-make switch, but I struggled with this because it was never clear whether it was on or off. If you’re going to go down this route, I suggest maybe using one with an indicator LED…
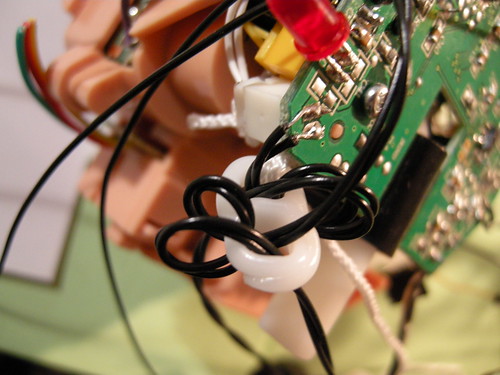
All-in-all there’s now a significant number of wires coming off the Furby and the solder points are quite delicate – particularly those ones that connect directly to the circuitboard. In order to add some protection against accidental pulls, I tied a piece of nylon cord to some of the plastic structure of the Furby and added a few polymorph figure-of-eights. I then looped each wire through the figure-of-eights before then taking it to the switch box. The nylon is slightly shorter than the length of the wires and tied off inside the switch box so it should hopefully take the brunt of any excess force.
Cord stay to protect wires from being pulled off
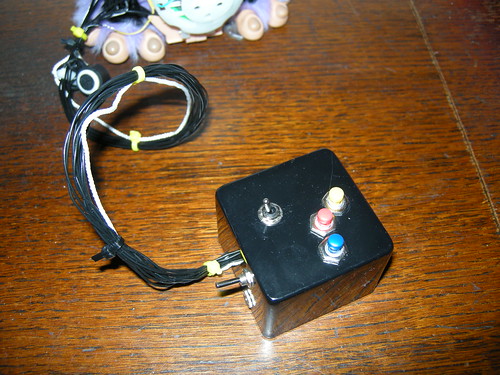
The switch box: main on-off switch and audio jack, glitch toggle switch and 3 buttons for belly, mouth and back triggers
Flashy lights
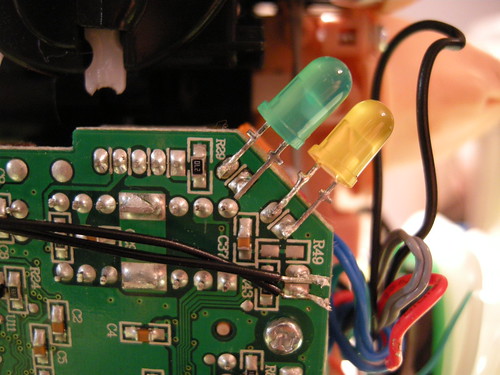
I’ve also attached a few LEDs to various points on the circuitboard (again, the solder points on the other side to where plugs attach). These were initially soldered straight onto the board, but have now been added onto wires in series with a 1k ohm resistor.
Initial (temporary) location of LEDs
As I write this, the LEDs have made it to the ends of his ears and mohican spikey thing, but I’m not quite satisfied with the result. More tinkering required – perhaps either to add more LEDs down the length of the ears, or to add some sort of translucent cover.
Wiring of the audio jack, including a 10 ohm resistor between points a and c
I’m using a 3.5mm enclosed chassis mount jack socket from RS, (part number 106-874), which has quite an open structure, so it’s pretty easy to see which bit is which.
Basically the two bottom connectors are the signals, and the one coming off the side is the ground.
Here’s a diagram of the wiring and how it connects up to the circuitboard and the speaker:
Diagram showing the wiring arrangement I ended up with for the audio jack
It’s ever so slightly different from what’s described on the oscillateur faq page, since I’m connecting c to b, rather than c to the ground of the speaker. I did try that, but got no sound.
The other thing I’m finding is that I still get sound from the Furby’s speaker when I plug the amp in. This doesn’t happen when the resistor is omitted, but the sound quality isn’t so nice, so I think I’ll put up with that.
I’m still not really convinced I’m doing this right, but I’ve not yet found any other combination of wiring that works. Maybe I’ve got my positive and negative terminals on the speaker mixed up?
If anyone can point me in the direction of a solution then I’d be most grateful, because this is something that’s going to keep coming up and I’d quite like to learn how to do it properly!
Update!
I had wrongly identified which were the positive and negative terminals on the speaker. After changing that starting point, the audio jack now works as expected with the following wiring:
Correct (I think!) wiring for the audio jack. Without an amp plugged in, the Furby's internal speaker is used. When the amp is plugged in, the internal speaker cuts out.
My main area of enquiry is centred around interactions between people and place: often using tools and strategies from areas such as pervasive games and physical computing to set up frameworks for exploration.
If you'd like to commission me or collaborate with me, please get in touch via the contact page.
General blog contents released under a Creative Commons
by-nc-sa license.
Artworks and other projects copyright Nicola Pugh 2003-2026, all rights reserved.
If in doubt, ask.
The theme used on this WordPress-powered site started off life as Modern Clix, by Rodrigo Galindez.